 PRIME MOTION
Sketching
Most parts begin as a sketch. New Sketch asks where it goes:
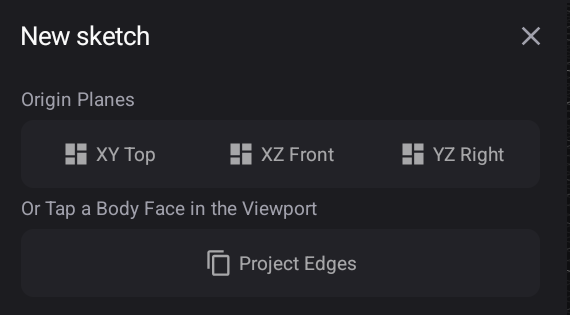
Pick one of the three origin planes — XY Top, XZ Front, YZ Right — or tap a face on an existing body to sketch directly on it. Project Edges brings existing geometry into the new sketch as reference.
Sketch mode
Entering a sketch changes the whole environment. The view squares up to the sketch plane, and the rail becomes the 2D toolset:
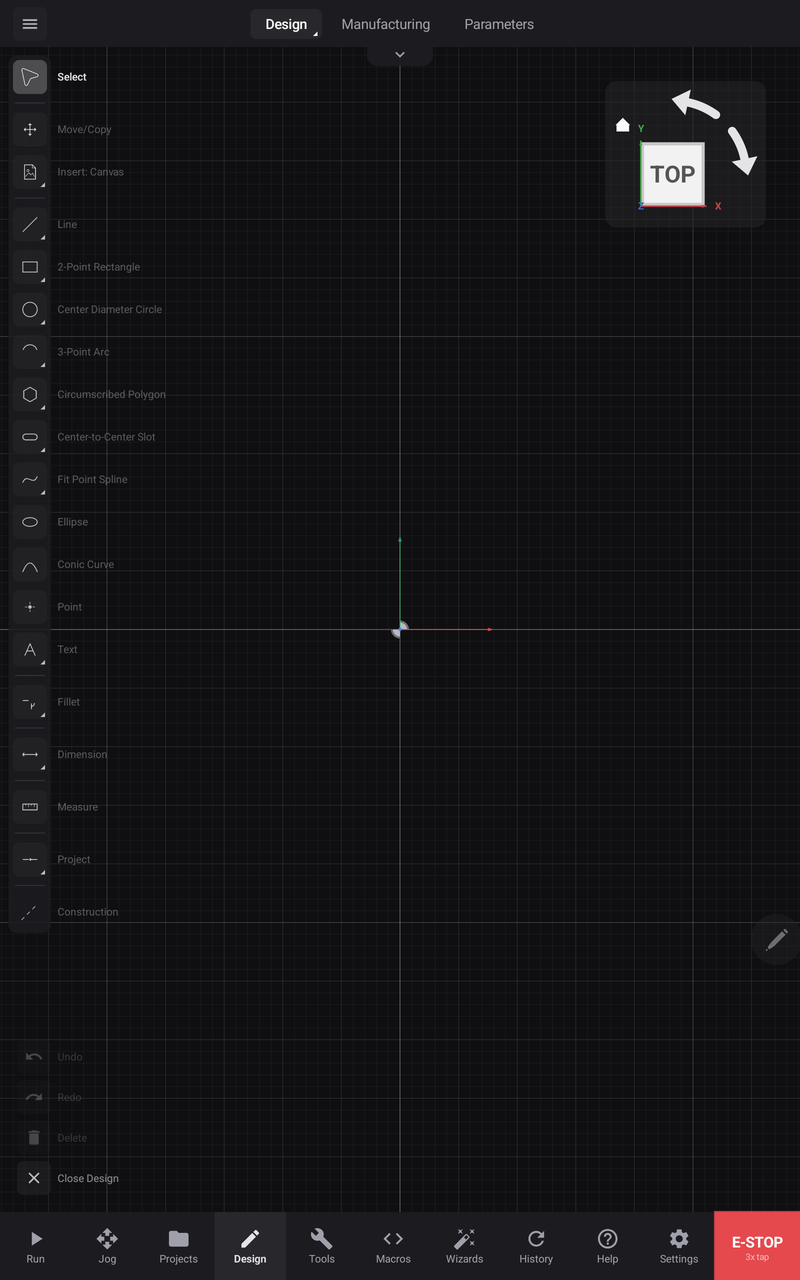
See The Design tools for the full toolset — thirteen families, from lines and arcs through splines, text, slots and fifteen constraints.
View options
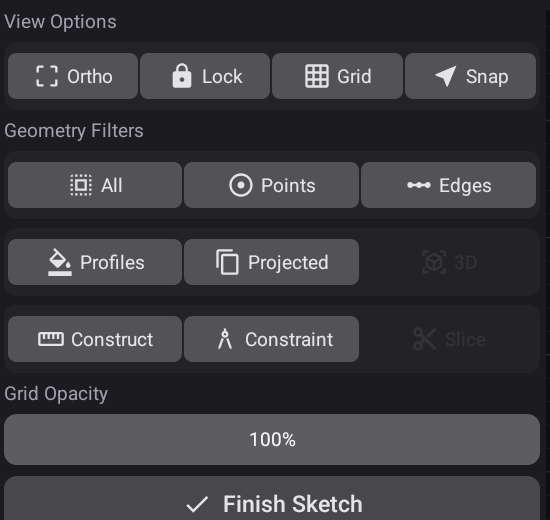
The drawer at the top holds what governs sketching rather than what draws:
Ortho · Lock · Grid · Snap — true orthographic projection, camera lock, the grid, and snapping. Ortho starts on: you are drawing on a flat plane, so you are shown that plane square-on, with no perspective foreshortening to lie about lengths. It goes back off the moment you finish the sketch — modelling stays in perspective.
Geometry filters decide what your taps can pick: All, Points, Edges, Profiles, Projected, Construct, Constraint. On a busy sketch this is the difference between selecting the thing you meant and the thing on top of it.
Grid opacity dims the grid without turning it off.
Finish Sketch returns you to modelling.
What gets out of your way
Two things hide themselves while you work, so the sketch is not competing with the solid it sits on.
Entering a sketch hides the bodies of the component you are working in. They are not deleted and not individually switched off — the Bodies folder for that component is turned off as a whole, and you can turn it straight back on from the tree if you want the solid for reference. Finishing the sketch puts them back exactly as they were, so a body you had deliberately hidden beforehand stays hidden. Closing the design while still inside the sketch puts them back too — you never reopen a design to find its solids missing.
A sketch hides itself once you build from it. Extrude, revolve, sweep or loft it and the sketch steps aside, because its job is done and its lines would otherwise sit on the face they created. It is still there — its eye in the tree turns it back on whenever you want it. Undoing the feature gives the sketch back automatically.
Tracing artwork — canvases
You do not have to redraw a shape you already have. Insert brings existing artwork into the sketch.
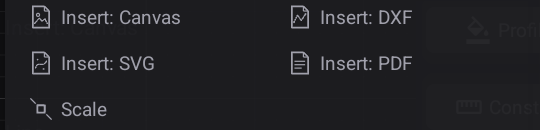
Canvas (an image), DXF, SVG, PDF, and Scale to size the result against a known dimension.
Two of these arrive as different things, and the difference matters. DXF and SVG land as real sketch curves — selectable, dimensionable, editable, and removed by a single Undo. Canvas and PDF land as a picture underneath the sketch, to trace over.
Bringing in a PDF
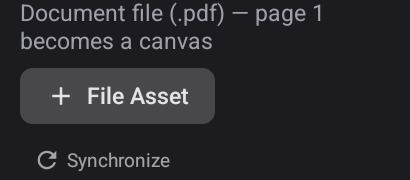
Page 1 of the document becomes the canvas. Files come from the usual places — Google Drive, Dropbox, or this device.
Once placed, the canvas is an object you control:
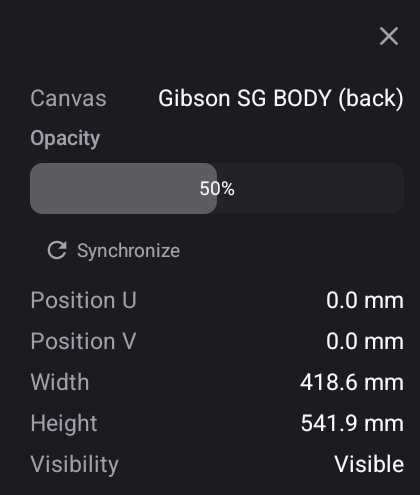
| Opacity | Fade it back so your sketch lines read over the top |
| Position U / V | Slide it on the plane |
| Width / Height | Its real-world size, in millimetres |
| Visibility | Hide it once you have traced it |
| Synchronize | Keep it tied to the source file |
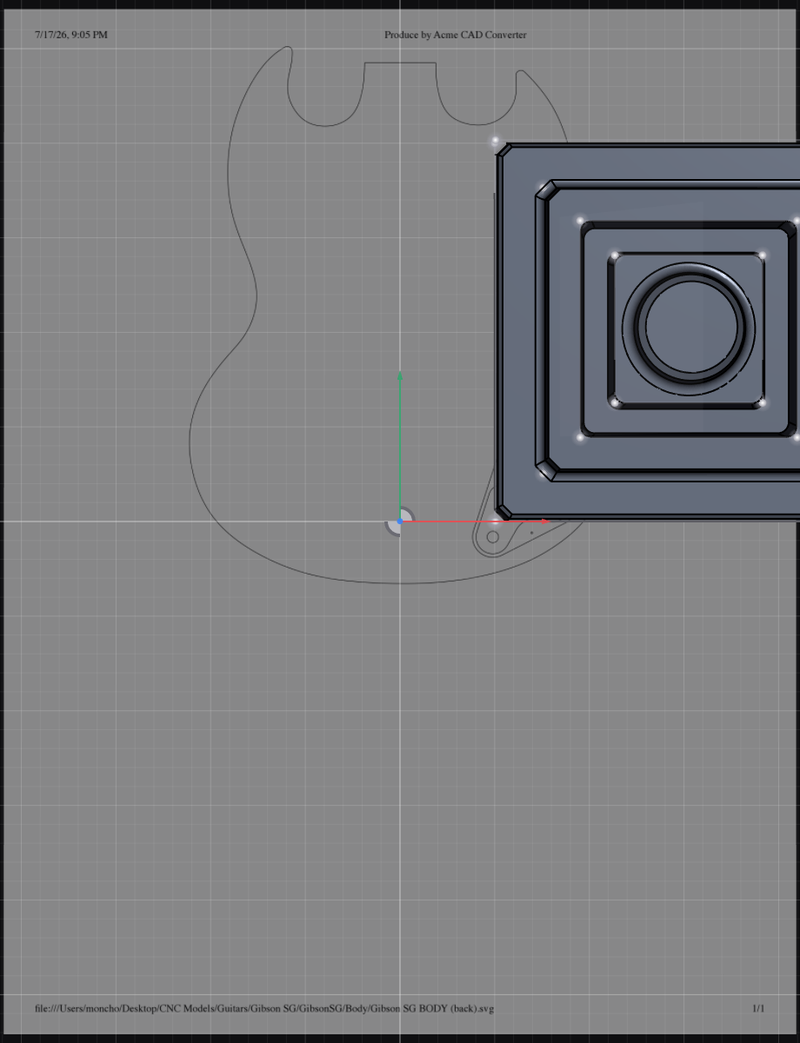
The drawing arrives at its true size — this one is 418.6 × 541.9 mm — so tracing it produces geometry at the right scale rather than something you have to fit afterwards. If the source is not to scale, Scale in the Insert family sets it against a dimension you know.
Related
- The Design tools — the full sketch toolset
- The design tree — where canvases and sketches live
- Files and storage